 How to Make Infographics
Visual content has become increasingly popular in conveying information effectively and engagingly. Among the many visual formats, infographics have gained immense popularity due to their ability to present complex data in a visually appealing and concise manner. If you’re looking to create your own infographic but don’t know where to start, you’ve come to the right place. In this blog post, we’ll provide you with a step-by-step guide on how to make an infographic that captures attention and effectively communicates your message.
Step 1: Define Your Objective and Audience Before diving into the creative process, it’s essential to have a clear understanding of your objective and target audience. Determine the purpose of your infographic. Are you trying to educate, persuade, or entertain? Identify your target audience and tailor the content and design to meet their needs and preferences.
Step 2: Research and Collect Data Gather all the relevant data and information that you want to include in your infographic. Conduct thorough research, refer to reliable sources, and organize your data into logical sections. Make sure your data is accurate, up-to-date, and supports your overall objective.
Step 3: Choose the Right Design Tools Selecting the right design tools can make a significant difference in the ease and quality of creating your infographic. There are various tools available, ranging from simple online platforms to more advanced graphic design software. Some popular options include Canva, Piktochart, Adobe Illustrator, and Adobe Photoshop. Choose the tool that aligns with your comfort level and design requirements.
Step 4: Determine the Structure and Layout Decide on the structure and layout of your infographic. Consider the flow of information and how the data will be organized. Use headings, subheadings, and sections to create a logical hierarchy. Keep in mind that the visual flow should be easy to follow, guiding the viewer through the information smoothly.
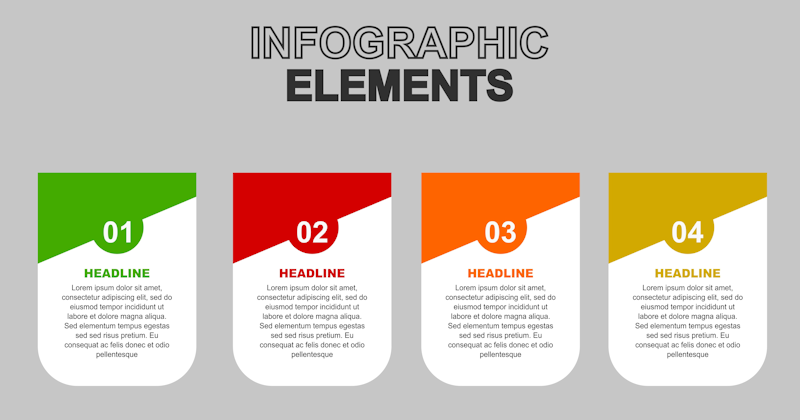
Step 5: Design Elements and Visuals Infographics rely heavily on visual elements to engage the audience. Select appropriate colors, fonts, and icons that align with your brand and objective. Use charts, graphs, illustrations, or relevant images to visually represent your data. Maintain consistency in your design elements to create a cohesive and visually appealing infographic.
Step 6: Simplify and Condense Information The beauty of infographics lies in their ability to simplify complex information. Avoid cluttering your design with excessive text or overwhelming visuals. Focus on the key points and present them in a concise and easily understandable manner. Use bullet points, short sentences, and impactful headings to highlight the main ideas.
Step 7: Create a Visual Hierarchy Establish a visual hierarchy to guide the viewer’s attention through your infographic. Use size, color, and placement to emphasize important elements and create a sense of order. Ensure that the most critical information stands out and is easily noticeable at first glance.
Step 8: Review and Refine After completing your initial design, take a step back and review your infographic with a critical eye. Check for any inconsistencies, spelling or grammar errors, or unclear visuals. Seek feedback from others to gain fresh perspectives and make necessary improvements.
Step 9: Share and Promote Once you’re satisfied with the final version of your infographic, it’s time to share it with the world. Utilize social media platforms, your website, or relevant blogs to promote your infographic. Encourage others to share it, embed it on their websites, or link back to your original source.
Infographics are powerful tools that allow you to present complex information in a visually appealing and easily digestible manner. By following the step-by-step guide outlined in this blog post, you can create compelling infographics that effectively communicate your message